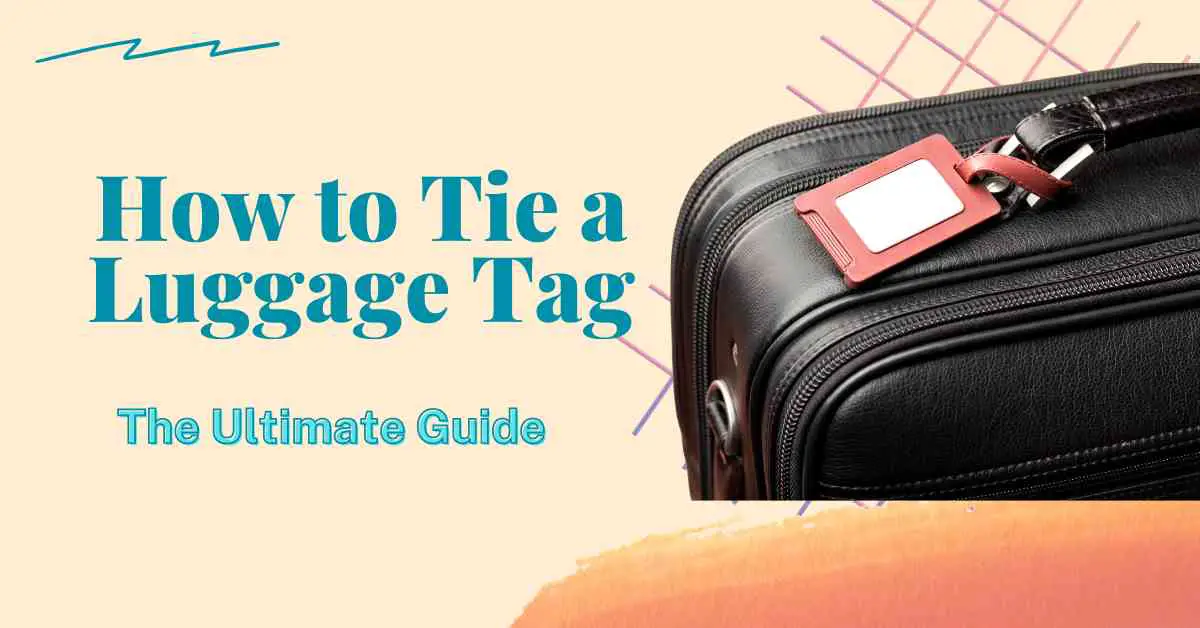
How to Tie a Luggage Tag | The Ultimate Guide
Tying a luggage tag may appear easy, but ensuring your luggage’s safe and efficient travel is crucial. Whether embarking on a grand adventure, a business trip, or simply heading to the airport, a securely attached luggage tag is your first defense in case your bags are lost or misplaced. In this guide, we write how to tie a luggage tag, and you will get the facts and assurance you need to ensure your contact information is readily accessible while your luggage is on its journey. So, start on this simple yet essential task that can make a difference in your travel experience.
Essential to tie a luggage tag

Tying a luggage tag to your luggage might appear insignificant, but it plays a vital role in travel. A luggage tag is your ticket to reuniting with your bags if they go astray. It is a simple yet powerful tool that ensures your contact information is available to airline personnel or fellow travelers, facilitating the safe return of your belongings. A well-attached luggage tag can mean the difference between a smooth trip and a travel hiccup in a bustling airport or crowded baggage claim. So, next time you pack your bags, don’t forget to secure that tag—it’s your insurance policy for hassle-free travel.
How to tie a luggage tag
Tying a luggage tag to your luggage is a simple process that helps identify your bags when traveling. Here’s a step-by-step guide on how to tie a luggage tag:
Materials you’ll need:
- Luggage tag
- String, ribbon, or a plastic loop (often included with the luggage tag)
Steps:
Please fill out the Luggage Tag: Before attaching it to your luggage, fill out the luggage tag with your contact information. Include your name, phone, and email address. You will also add your home contact address, but some travelers prefer to keep these details private for security reasons.
Choose a Secure Attachment Method:
String or Ribbon: If your luggage tag comes with a hole at one end, you can use a durable string or ribbon to attach it to your luggage. Ensure the string or ribbon is long enough to attach and remove the tag easily.
It will be a convenient and secure option.
Thread the String or Ribbon:
If you’re using a string or ribbon, thread it with the hole in the luggage tag from the front to the back.
Secure the Luggage Tag:

Once the string or ribbon thread is through the luggage tag, position the label where you want it on your luggage handle, zipper pull, or another secure location.
Bring the ends of the string or ribbon together and tie a secure knot. You can use a simple overhand or double knot to keep it in place.
If you’re using a plastic loop, insert it through the hole in the luggage tag and then thread it through a secure point on your luggage, such as a handle or a zipper pull. The loop will hold the label in place.
Double-Check the Attachment:
Gently tug the luggage tag to ensure it is securely attached. It should take time to come loose.
Optional Step: To prevent the tag from snagging during baggage handling, you can cover and protect it using clear packing tape. It will help to prevent it from damage.
Verify the Information: Before heading to the airport, double-check that the contact information on your luggage tag is accurate and current.
Make sure to securely attach your luggage tag to your bag, and ensure your contact information is readily available in case your luggage gets lost or misplaced during your travels. Safe travels!
Conclusion:
In conclusion, you will learn how to tie a luggage tag is a small action with significant implications for your travel experience. Ensure your contact information is accessible to protect your luggage. The peace of mind it offers when navigating airports, bus terminals, or train stations is invaluable. So, as you embark on your next journey, remember that attaching a luggage tag is not just a routine task; it is a bright and essential step towards a worry-free travel adventure.
Recent Posts You May Like:
- What happens if you put a vape in checked luggage?

- What is Check-in Baggage in Flight?

- How to Pack Sunscreen in Checked Luggage

- How to Open a Locked Suitcase Without a Key

- What to Do If You Forgot Your Samsonite Code: Unlock Travel Woes

- How to Set Delsey Luggage Lock: The Ultimate Guide

- How to Pack Sunscreen in Checked Luggage: Expert Tips

- Why Do Schools Require Clear Backpacks: Unveiling the Necessity

- How to Measure Linear Inches of Luggage: Quick & Easy Guide

- How to Tie a Luggage Tag | The Ultimate Guide

- How to Loosen Backpack Straps: A Practical Guideline
- General Tips: How Many Books Can You Put in an Empty Backpack?


